Aromatherapy candles add a touch of tranquility and luxury to any home. Making them yourself allows you to customize scents and styles to your preference. Plus, crafting your own candles can be a fun and relaxing activity.
This guide will walk you through each step, from gathering materials to pouring the wax. Whether you're a seasoned DIY enthusiast or a complete beginner, you'll find the process simple and enjoyable. Let's dive into the world of DIY aromatherapy candles and discover how to make your home smell divine!
Let's start with what you'll need.
- Materials Needed
- Choosing the Right Essential Oils
- Candle Making Steps
- Creating Unique Scents
- Decorative Ideas and Tips
Materials Needed
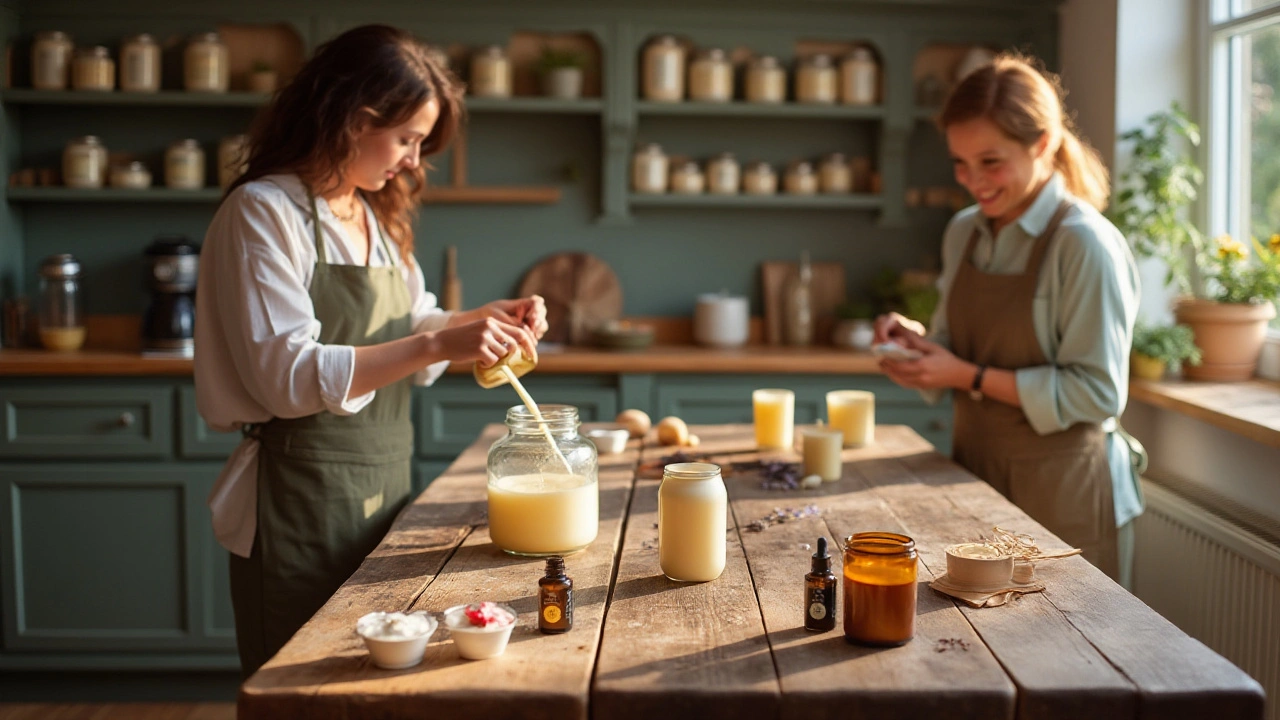
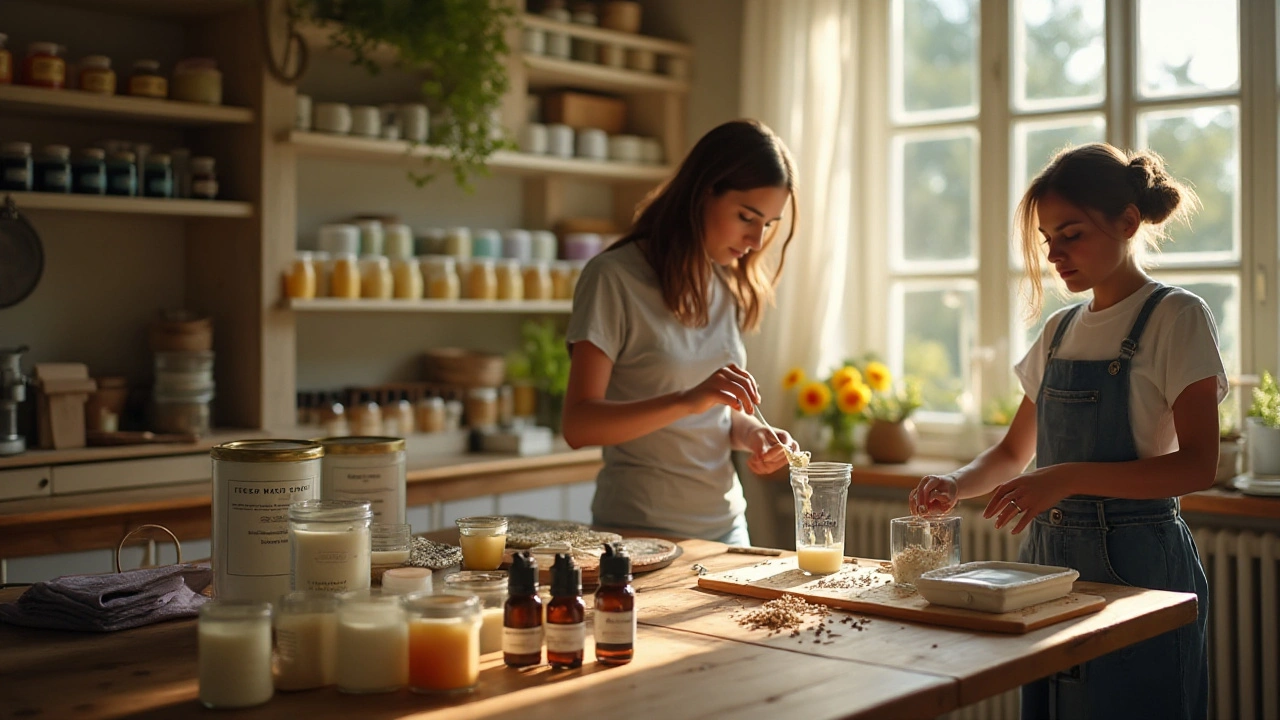
Before plunging into the delightful process of creating your own DIY candles, it's essential to gather all the materials. Having everything ready not only streamlines the crafting process but also ensures that you don't have to pause midway to fetch a forgotten item. Here's a detailed list of what you'll need:
First, you need wax. Soy wax is a popular choice for homemade candles due to its clean-burning properties and longer-lasting burn compared to paraffin wax. Soy wax flakes are easily available online or at local craft stores. Beeswax is another excellent option, especially if you're looking for a natural and eco-friendly choice. However, beeswax has a stronger natural scent and a higher melting point, which might be a consideration depending on your preferences.
Next, you'll need wicks. Cotton wicks are highly recommended for DIY aromatherapy candles because they burn slower and cleaner. When selecting a wick, ensure it’s the right size for your container. A wick that’s too small will create a weak flame, while one that's too large can cause the candle to burn too quickly and produce smoke. Wooden wicks are another interesting alternative as they offer a unique crackling sound reminiscent of a fireplace.
Essential oils are the heart of your aromatherapy candle. Lavender, eucalyptus, and peppermint are popular choices for their soothing and revitalizing effects. It’s crucial to use high-quality, pure essential oils to get the best aromatherapy benefits. Synthetic fragrances might smell good but don't provide the therapeutic benefits of real essential oils.
Containers for your candles come in a variety of shapes and sizes. Glass jars, tins, and ceramic vessels are excellent options. Make sure the container is heat-resistant. Repurposing old glass jars or teacups can add a personal touch and is a sustainable option. Just make sure they're thoroughly cleaned before use.
A double boiler or a makeshift one using a bowl placed over a pot of simmering water is necessary for melting the wax. Direct heat can scorch the wax, leading to undesirable results. A thermometer is another helpful tool to ensure the wax reaches the proper temperature for adding essential oils and pouring.
For stirring the wax, a wooden or silicone spatula works well. Avoid using any plastic utensils as they can melt or absorb the wax and oils. Additionally, a pair of chopsticks or a pencil can be helpful to keep the wick centered while the wax hardens.
Finally, you might want to have some labels and decorations on hand. Personalizing your candles with custom labels or adding decorative touches like dried flowers can make your homemade candles perfect gifts or beautiful home accents. If you’re planning to sell them, ensuring they’re well-labeled and visually appealing can make a significant difference.
“Crafting your own candles allows you to customize them to your preferred scent and style, making them unique and personal creations.” — Jane Smith, Aromatherapy Expert
Choosing the Right Essential Oils
Essential oils are at the heart of your DIY candles, defining their scent and therapeutic effect. Selecting the right oils can make your candles more than just fragrant—they can create an atmosphere, uplift your mood, or help you unwind. Begin by understanding the different qualities of essential oils, such as their intensity, longevity, and how they blend with other scents.
Lavender, for instance, is famous for its relaxing properties. It's often used to promote sleep and reduce anxiety. On the other hand, peppermint oil is invigorating, perfect for enhancing energy and focus. Using a blend of multiple essential oils can create complex and intriguing aromas, but remember to test your mixtures to ensure a pleasant scent.
According to the National Association for Holistic Aromatherapy (NAHA), “Essential oils are known for their therapeutic properties, and when used correctly, can enhance physical and emotional well-being.”
Another important aspect is the quality of the oils. Pure essential oils, rather than synthetic ones, provide a deeper, richer scent and greater therapeutic benefits. You might want to start with well-known brands like Young Living or doTERRA, known for their stringent quality control and purity.
It's also helpful to know the flashpoints of the essential oils you plan to use. Flashpoint refers to the temperature at which the oil will start to evaporate. If the temperature exceeds the flashpoint during candle making, the essential oil may lose its scent and therapeutic properties. For example, citrus oils like lemon and orange have a lower flashpoint compared to oils like patchouli or sandalwood.
If you're feeling adventurous, you can experiment with unique combinations. A blend of eucalyptus and tea tree can create a refreshing, spa-like atmosphere, while mixing vanilla and sandalwood can produce a warm, comforting ambiance perfect for chilly evenings.
Here's a simple table to help you choose essential oils based on their properties:
| Essential Oil | Properties | Common Use |
|---|---|---|
| Lavender | Relaxing, calming | Sleep aid, stress relief |
| Peppermint | Refreshing, uplifting | Boosts energy, improves focus |
| Lemon | Energizing, uplifting | Improves mood, enhances concentration |
| Sandalwood | Warm, grounding | Promotes tranquility, reduces anxiety |
Remember, creating homemade candles can be a personal, creative process. Feel free to experiment until you find the perfect blend of oils that suits your needs. The right essential oils not only make your candles smell divine but also provide numerous health benefits, making your home a sanctuary of well-being.
Candle Making Steps
Making your own DIY candles is an enjoyable and serene process. It starts with melting the wax, usually soy or beeswax, as it burns cleaner and longer. You can do this in a double boiler setup—a heatproof bowl over a pot of boiling water works perfectly. Patience is key here; let the wax melt slowly to ensure even heating.
Once your wax has melted completely, it's time to add your chosen essential oils. The general rule is to use about one ounce of oil for every pound of wax, but this can vary depending on the strength of the scent you desire. Stir the wax gently but thoroughly to distribute the oils evenly. Essential oils like lavender and eucalyptus are popular choices for their calming properties.
Next, prepare your container. Using a thermometer, ensure your wax cools to around 140-150 degrees Fahrenheit before pouring to prevent cracking and provide a smoother finish. Center the wick in your container using wick centering tools or a pencil laid across the top. Pour the wax slowly into the container, and use this time to relax and enjoy the process.
According to The National Candle Association, “The selection of the wick is one of the most important aspects of candle crafting. The type of wick used will determine how evenly a candle will burn and how much fragrance will be released.”
As your candle cools and begins to harden, you might notice a sinkhole forming around the wick. This is natural and easy to fix. Keep some of the wax aside, re-melt it, and fill in the sinkhole to achieve a smooth, even surface. This additional step ensures your homemade candles look professional and neat.
Let your candle cure for at least 24 hours before trimming the wick to about ¼ inch. This is crucial as it ensures a cleaner, safer burn and helps prevent soot buildup. Never leave your candle burning unattended, and enjoy the lovely aroma you've crafted with your hands.
Creating Unique Scents
Experimenting with different scents is one of the most enjoyable parts of making your own DIY candles. The magic lies in blending essential oils to create a fragrance that is uniquely yours. This process allows you to tailor the scent to your specific mood, season, or occasion.
Essential oils are the key components that will give your aromatherapy candles their fragrance. They are natural extracts from plants, each carrying its own distinct aroma and therapeutic properties. Some popular options include lavender for relaxation, peppermint for invigoration, and eucalyptus for a fresh, clean scent. Combining these oils can lead to wonderfully complex fragrances that enhance your home atmosphere. For example, blending lavender and peppermint creates a refreshing yet calming scent, perfect for unwinding after a long day.
When creating scents, it's helpful to understand the concept of top, middle, and base notes. Top notes are the first scents you perceive when you smell a candle; these are typically light and fresh, like citrus or mint. Middle notes, or heart notes, emerge as the top notes fade, often including more robust scents like florals or spices. Base notes are the final layer, offering depth and longevity to the fragrance; common base notes include vanilla, cedarwood, and sandalwood. By combining these different notes, you can craft a balanced and layered scent profile.
Finding Your Signature Scent
Creating a signature scent involves some trial and error. Begin by selecting a few essential oils that appeal to you. Use a dropper to mix small amounts in a separate container, experimenting with different ratios until you find a combination you love. Keep track of your blends in a notebook, noting the amounts and oils used, so you can recreate your favorites or tweak them as needed. A good starting point is to use three oils: one for each note. For instance, try combining lemon (top), lavender (middle), and cedarwood (base).
Don't be afraid to get creative! Blend floral and citrus scents for a bright and cheerful aroma, or mix spicy and woody notes for a cozy, autumnal vibe. Seasonal inspiration can also be a great guide. Fresh, green scents are perfect for spring, while warm, spicy aromas fit well in the winter months.
"The beauty of making your own candles is the freedom to experiment. You can adjust the fragrance intensity, mix unexpected combinations, and truly make the scent your own," says Jenna Williams, an expert in home fragrance.
Once you've settled on a blend, you'll need to determine the right amount of essential oil to use in your candle. Typically, a good rule of thumb is to add about 1 ounce of essential oil for every pound of wax. This can be adjusted based on how strong or subtle you want your candle's scent to be. Remember, the fragrance will become more apparent once the candle is lit, so starting with a slightly lighter scent can sometimes be best.
As you gain more experience, you can start to experiment with more complex blends and higher essential oil concentrations. Keep in mind that some essential oils are stronger than others. For example, just a few drops of peppermint oil can be quite potent, while you might need a bit more lavender to achieve the desired fragrance strength. Always test your candles to see how they smell both unlit and while burning to ensure the best results.
| Essential Oil | Top Note | Middle Note | Base Note |
|---|---|---|---|
| Lemon | Yes | No | No |
| Lavender | No | Yes | No |
| Cedarwood | No | No | Yes |
With a little bit of practice and a lot of creativity, you can craft unique scents that make your homemade candles truly special. Happy blending!
Decorative Ideas and Tips
Once you have created your aromatherapy candles, it is time to make them look as beautiful as they smell. Here are some creative and simple ideas to decorate your homemade candles, ensuring they’re not just functional but also a stunning addition to any room.
One of the easiest ways to add a decorative touch is by using different containers. Rather than traditional jars, consider using vintage tea cups, wine glasses, or even small tin cans. These unique containers can give your candles a charming and quirky appearance. Just make sure the container you choose is heat-resistant and safe to use with hot wax.
Another great idea is to add some embedded decorations. Herbs, dried flowers, and pieces of fruit peel can be placed around the sides of your container before pouring in the wax. Lavender, rose petals, and orange peels are popular choices. They not only add a touch of elegance but also enhance the candle’s aroma when it is lit. Just be cautious not to place flammable items too close to the wick to avoid any fire hazards.
For those who love a bit of sparkle, consider adding some glitter to your wax. A pinch of fine craft glitter can be mixed into the wax before pouring, or you can lightly sprinkle it on top while the wax is still wet. This creates a beautiful, shimmering effect when the candle burns. Choose glitter colors that complement the scent and appearance of your candle to ensure a harmonious look.
Ribbon and twine can also be used to add a rustic touch. Wrap a piece of jute twine or a colorful ribbon around the neck of the jar or container. You can also attach small charms, beads, or personalized tags to the ribbon for an extra layer of customization. This works particularly well for gifting, as it adds a personal touch that shows you’ve put thought and effort into your creation.
According to candle expert Sarah Nulty, “The way you present your candles can significantly enhance their appeal. A beautifully designed candle can serve as a piece of décor and makes the experience of lighting it even more special.”
Painting the outside of your jars or containers with heat-resistant paint is another way to make your candles stand out. You can go for solid colors, or get creative with patterns and designs. Stencils can help achieve a professional look if you're not confident in your freehand painting skills. This added touch transforms a simple candle into a work of art.
If you want your candles to reflect the different seasons or holidays, use themed decorations. For example, autumn leaves and cinnamon sticks can give your candles a cozy fall feel. During the winter holidays, you might incorporate small pinecones, cranberries, or even tie little bells with the ribbon. Seasonal decorations make your candles timeless and appropriate for any occasion.
Lastly, consider adding labels to your candles. This is particularly useful if you are making candles with different scents. Labels can be handwritten for a personal touch, or printed if you want a more polished look. Be sure to include the name of the fragrance and any special ingredients. This is not just practical but also adds an artisanal quality to your candles.